Contract Analysis (Document Review)
Document reviewers in ContraxSuite typically upload documents to Batch Analysis for quick triage before sending documents to Contract Analysis projects. Reviewers can either upload documents to a Batch Analysis, or upload them directly into a Contract Analysis project.
Document Grid View
Reviewers primarily use the Contract Analysis interface when they interact with documents. To get started, open up a Contract Analysis project from the main menu (left pane). You’ll be taken to the Document Grid View, which looks something like this:
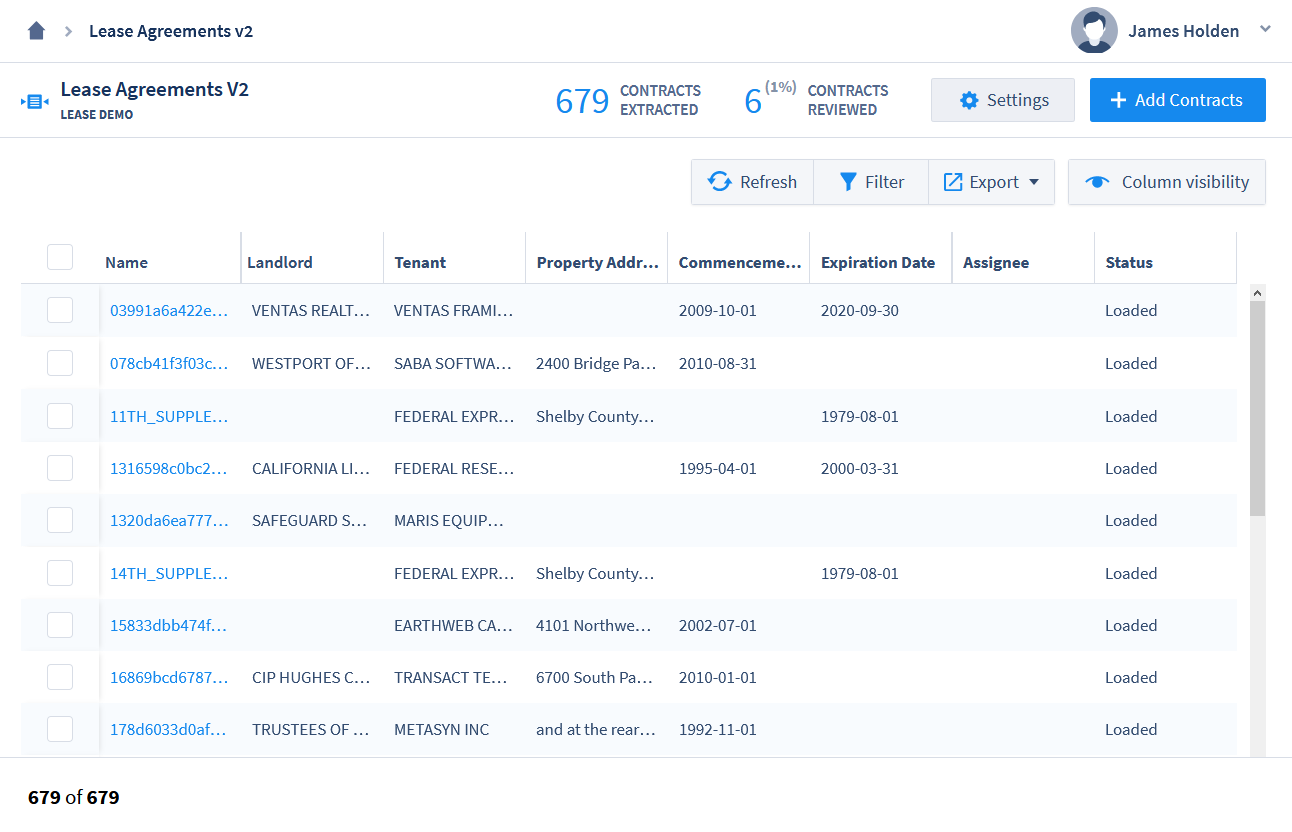
Several Field Types will be displayed automatically, such as:
Name: The filename of a document
Assignee: The user who has been assigned to review that particular document. Typically an admin or power user will assign reviewers to a project, but permission can be given to reviewers to self-assign documents as well.
Status: There are six different statuses that can be set for a document or clause. These statuses are manually assigned.
Loaded: A document that has been successfully uploaded to a Contract Analysis project will have this as its default status.
Not Started: A reviewer has been assigned to a document, but wishes to indicate that they have not started reviewing that document yet.
In Review: The reviewer is currently reviewing the document.
Awaiting QA: The reviewer has completed reviewing the document.
Completed: The reviewer has completed reviewing the document, and a supervisor has performed QA. Field Values cannot be edited when a document is marked Completed.
Excluded: The reviewer has determined that the document cannot be reviewed, or should not be reviewed. Often, this status is used when a document is not scanned and parsed correctly, or it does not belong in the project in the first place and was included by mistake. Field Values cannot be edited when a document is marked Excluded.
Other Field Types can be displayed in the Grid View by using “Column Visibility” options. Reviewers have several tools, including “Column Visibility”, at their disposal for modifying the look of the Document Grid View.
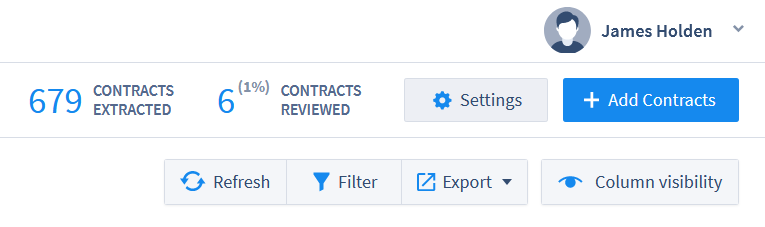
Refresh: If you’ve uploaded new documents, or changed other settings, but do not see the changes to the Document Grid View, click “Refresh” before troubleshooting in other ways.
Filter: This option allows you to filter the Document Grid View using individual searches for any of the visible columns. For example, typing “<5000000” in a Currency Field will show only those documents that have extracted currency values of under 5,000,000. Use in combination with Column Visibility to conduct targeted searches within an entire project of documents.
Export: You can export a spreadsheet of all the data contained in the Documents Grid, based on which Filters and Columns you’ve chosen to display. There are 3 export options:
Microsoft Excel 2007-2013 XML (.xslx)
Text CSV (.csv)
Export Selected Cluster(s) (.zip): Export selected documents into a
.zipfolder.
Column Visibility: Change which Fields are visible in the Document Grid View. Use in combination with Filter to conduct targeted searches within an entire project of documents. The following columns are selectable for all Contract Analysis projects, in the “Other Fields” section of the Column Visibility pop-up:
Document ID
Original Doc Link
Title
Language
Text Length
Parties
Earliest Date
Latest Date
Largest Currency: Currency
Largest Currency: Amount
Definitions (the defined terms within a document)
Geographies
Currency Types
OCR Rating (objective rating of OCR performance on the document, on a scale of 1-5)
Is Contract (whether this document is a “contract”, or some other type of document)
Contract Type
Contract Type Top 3 (displays the top 3 most likely Contract Types for this document, with probabilities represented as a percent value)
Project
Notes (any user-written notes attached to this document via the Annotator)
Folder (original folder name that this document was uploaded from)
Assignee
Status
Modified Date
Modified By
Load Date
Loaded By
Annotator Screen
Clicking on a document in the Document Grid View will open that document in the Annotator, with Fields and Field Values highlighted with annotations. The Annotator highlights text from which ContraxSuite has extracted data. The highlights in the main pane show where the data was found in the document, while the right pane shows the extracted data in its associated Field. The data extracted for a specific field is dependent on its Field Type (i.e., Date, Geography, Company, etc.). Relevant data is extracted by Document Fields based on the Field Detectors written by admins and power users. For example, in the picture below, the phrase “August 31, 2010 (the “Effective Date”) was extracted as the “Commencement Date” with a standardized value of “2010-08-31”.
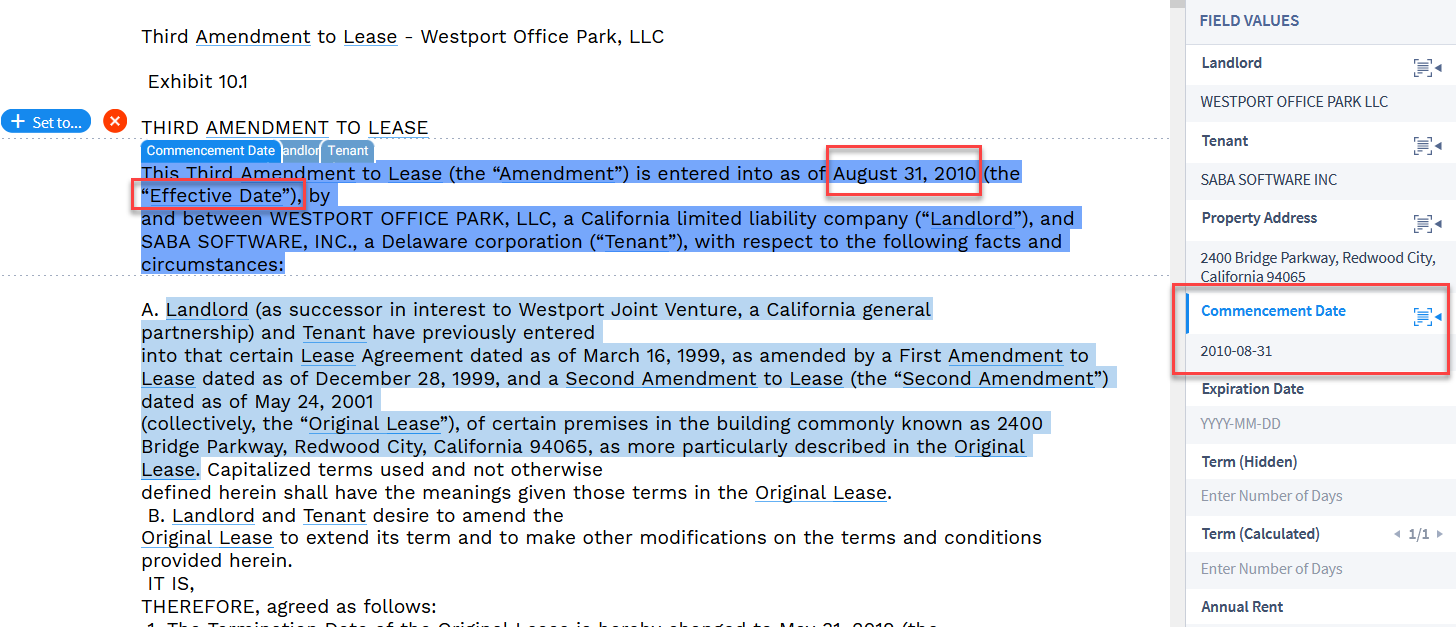
This date was successfully extracted because a “Date” Field Type was created, with a Field Detector written to extract date values from sentences containing the words “effective” or “commencement”. ContraxSuite searched for those patterns within the document’s text to find related dates, in this case finding and highlighting “”August 31, 2010 (the “Effective Date”)”. Because this is a “Date” Field, ContraxSuite then automatically extracted the date value and standardized that data into the format of “2010-08-31”. This is just a simple example of how Field Detectors can be configured to find and extract virtually any kind of data that might be contained in a document.
Annotator Tabs
There are six different viewing tabs in the Contract Analysis Annotator.
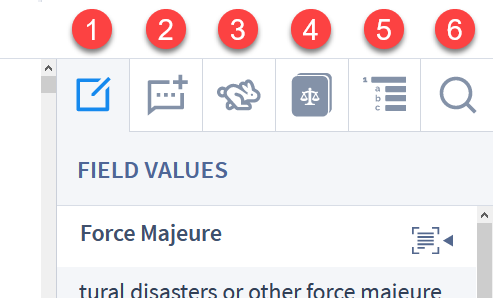
1. Field Values: Default. This tab contains data extracted by the Document Fields and Field Detectors of the Document Type. This tab is where the bulk of review work in the Annotator takes place.
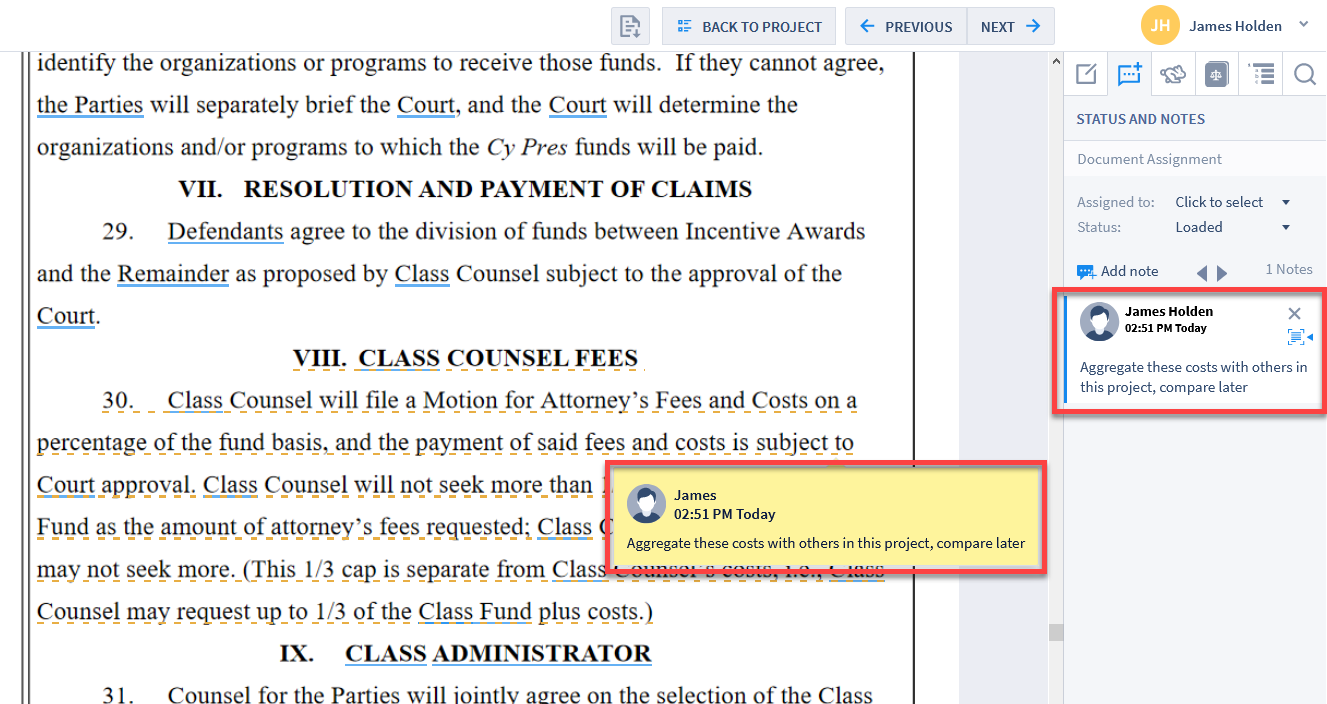
2. Status & Notes: This tab contains Status options for the document (See “Status” above), as well as a space for users to take notes on specific passages of text in a document.
3. Quick Data: This is an index of standard Data Entities (such as Currencies, Dates, Date Durations, Definitions, Parties, etc.) in the document.
Citations (under development)
Currencies
Dates
Date durations
Definitions
Geographies
Parties
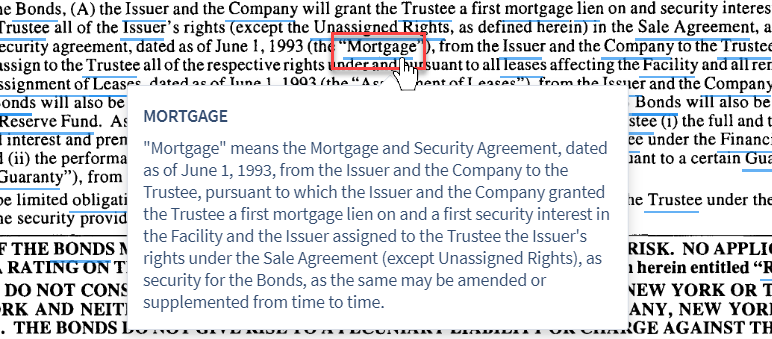
4. Definitions: This tab displays a list of defined terms within a document, extracted from the structure of the document. This includes any internal lists of definitions contained within the document itself. If you click on an underlined word/phrase, the internal definition of that word will be displayed in a pop-up window.
5. Section Navigation: This tab displays a document’s internal sections and sub-sections. Users can quickly navigate to different sections in the document by clicking on a section or sub-section in this list.
6. Search: This tab allows users to conduct a simple search within the document for specific words or phrases.
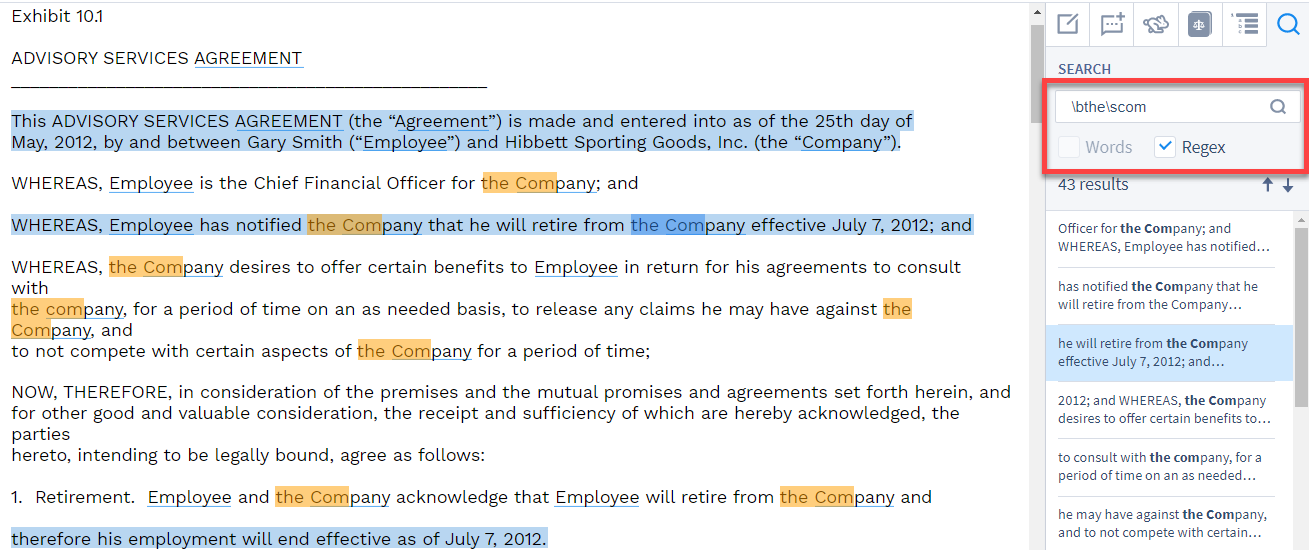
Users can choose to search via regular text, or via regular expressions, by clicking the respective checkboxes.
Display Options Panel
At the bottom right of the Annotator pane, there is a Display Options Panel:
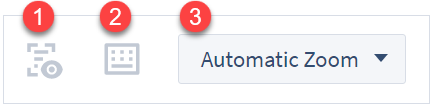
1. Text Highlights On/Off: By default, users will see highlights in the Annotator for any text unit that has a value extracted from it. If you wish to hide these highlights for all of the text in the document, click this icon to toggle highlights on or off.
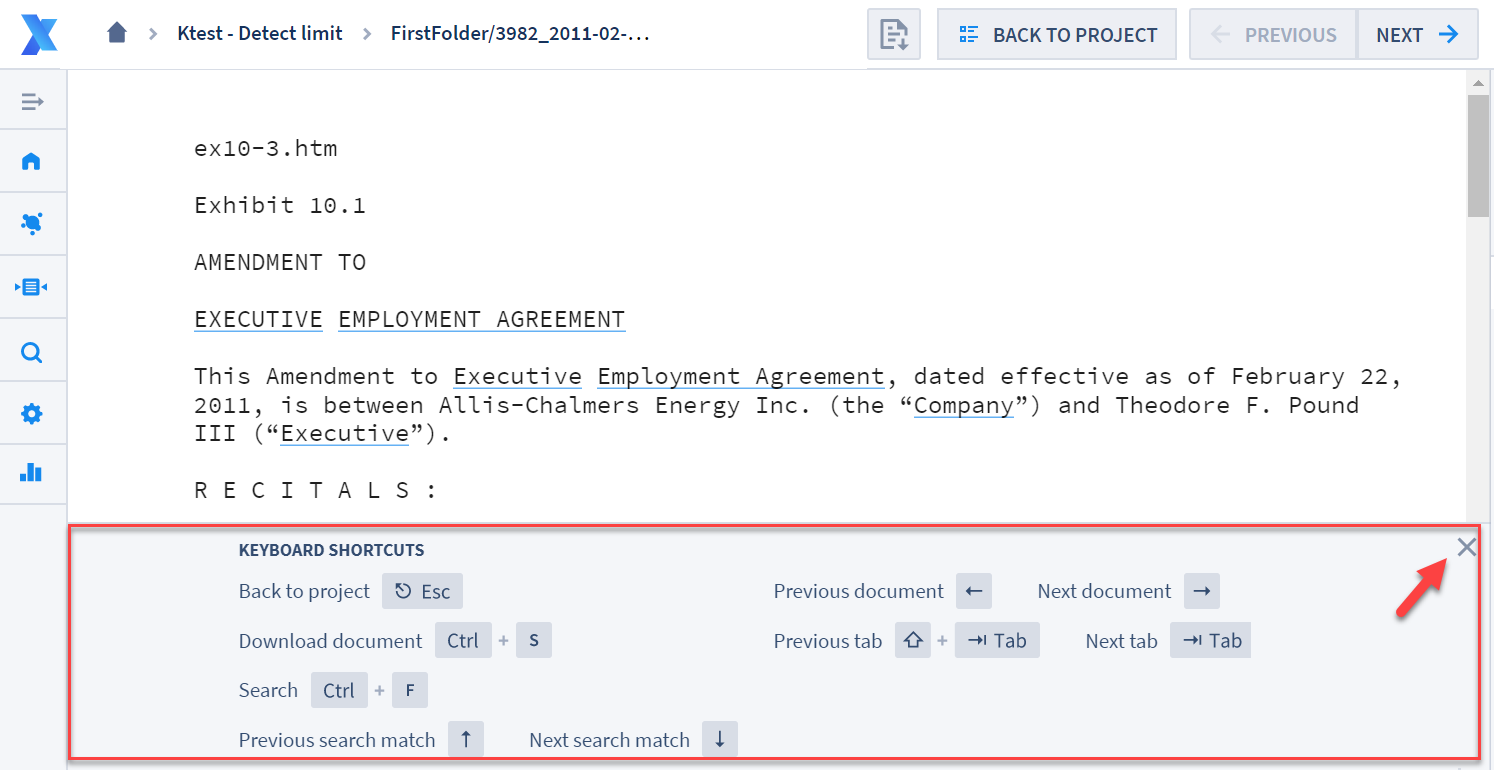
2. Keyboard Shortcuts On/Off: Click this icon to show a list of keyboard shortcuts available in the Annotator Screen. To hide this panel, click the “X” in the upper right corner.
3. Annotator Zoom: Click this icon to display a pop-up list of zoom options:
Automatic Zoom. Default
Actual Size
Page Fit
Page Width
Page Height
50%
75%
100%
125%
150%
200%
Manual Extraction in Contract Analysis
Fields and Field Detectors written by admins and power users may not always capture and extract all of the correct data, all of the time. In the event that a Field Detector does not correctly extract the right data and use it to populate the correct Field, a user in the Annotator can find the correct passage of text, highlight it, and manually assign that highlighted text to the correct Field. Doing so will extract any data from the highlighted passaged that is applicable to that Field’s Type (e.g., highlighting a paragraph that contains a name and then clicking an empty Company or Person Field will populate that Field with that name, in the right pane).
1. Check document for any Document Fields that are missing data and annotations, or that do not have the correct data or annotations. (This may be because of under-inclusive Field Detectors.) Then drag the cursor over the passage of text you wish to assign to a Field. After selecting the text, it will be highlighted in orange.
2. Once your text passage is highlighted, click the Field in the right pane that you wish to assign that text to. Depending on the chosen Field’s type (e.g., Date or Duration Fields), the relevant data within the passage will be automatically extracted. Other Field Types - such as Choice, Multi-choice, or String Fields - may prompt you to manually enter a value in the form. Related Info Fields, meanwhile, will not prompt a user to enter data; Related Info Fields only need annotations.
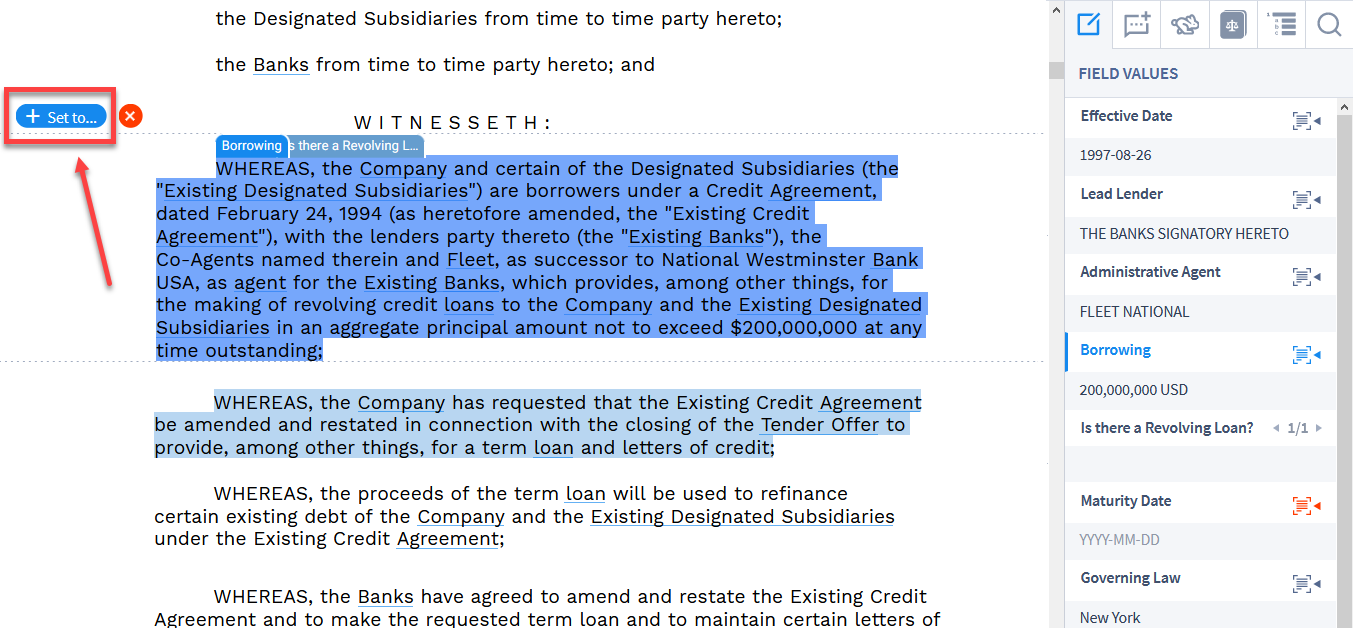
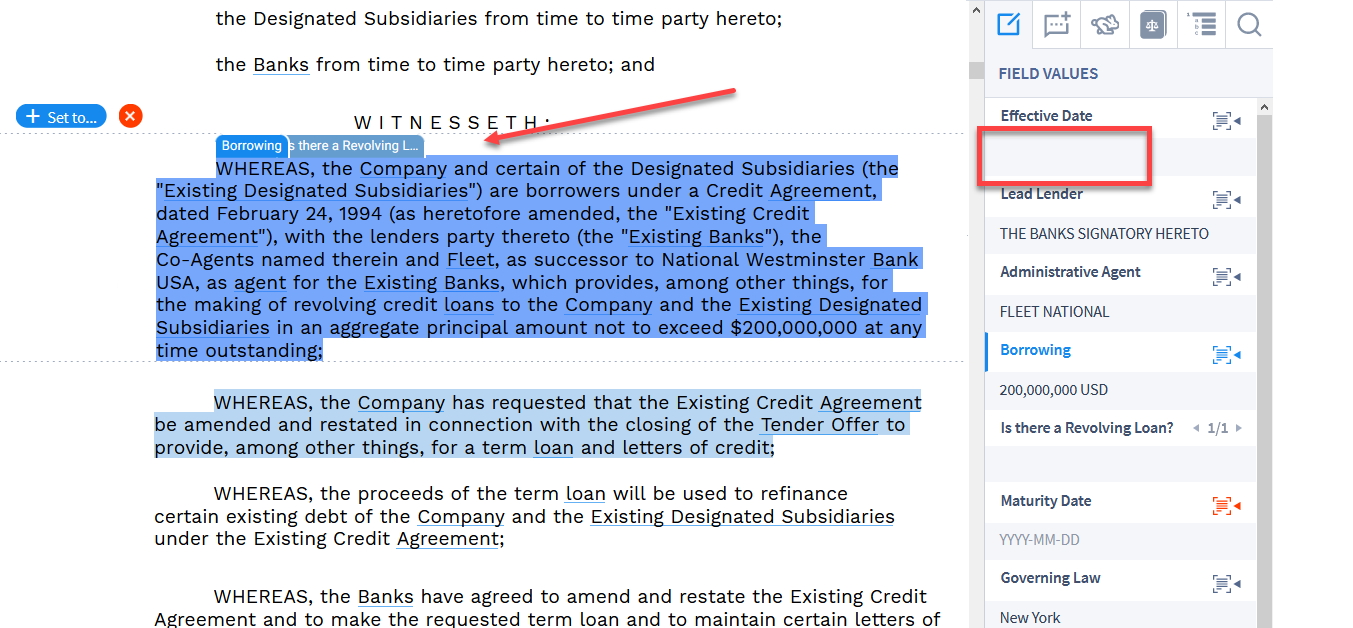
3. If the text you want to highlight for a particular Field is already highlighted and associated with a different Field, click that annotation. A prompt will appear that says “+ Set to…” at the top left of the text. Click the “+ Set to…” button and repeat the process outlined in Step 2 above.
4. You can also delete the highlight associated with a Field, by clicking on the highlighted text and instead clicking the “X” button next to the “+ Set to…” button. Be sure that the highlighted Field tab displays the name of the Field for which you want to remove the highlight, then click on the “X”.
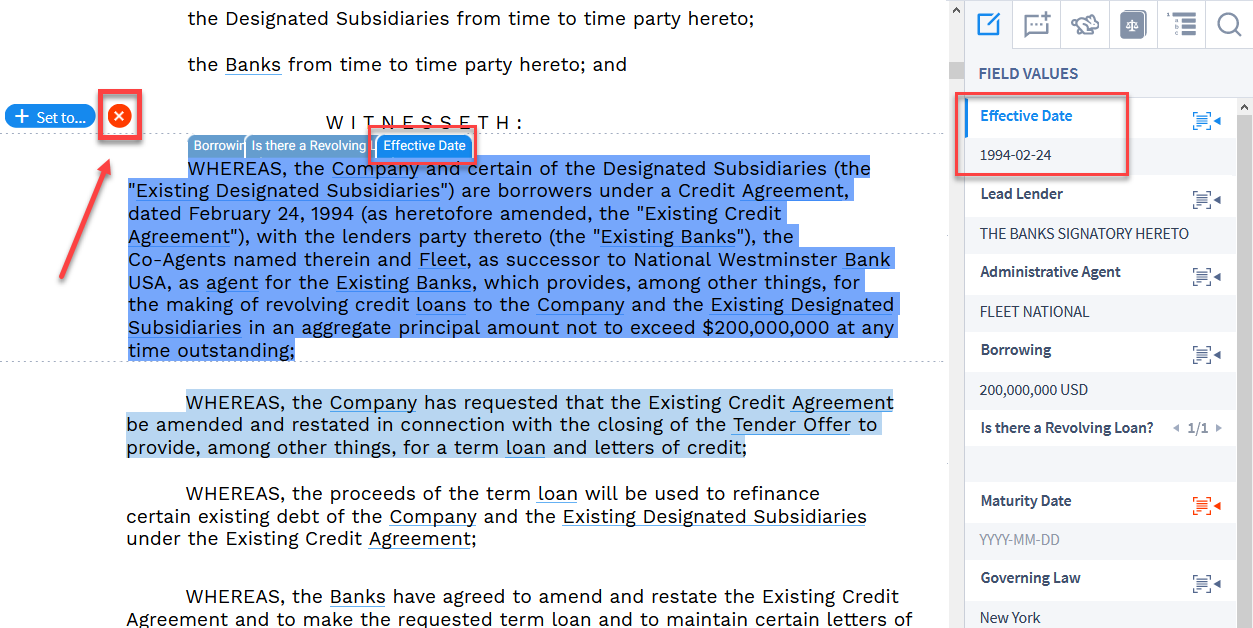
5. After clicking the “X”, the highlight will disappear, and that text will no longer be associated with the Field. In the image above, the new highlight was associated with the Field “Effective Date”. In the image below, after clicking the “X” button, that Field is once again not associated with this highlight.
6. Annotations are saved, and can also be used for future improvements to automatic field detection.
Whole documents are viewable in the Annotator, but documents can also be broken down clause by clause and reviewed that way. Click the “Next” button below for instructions on Clause Review in Contract Analysis projects.