Contract Analysis (Clause Review)
All Contract Analysis projects have the option to turn on the Clause Review workflow. Clause Review gives users in a given project the ability to review individual clauses extracted by Fields and their Field Detectors in a simple, user-friendly workflow. Users choose to either “Accept” clauses that contain the correct extracted values, or “Reject” any values that were incorrectly extracted.
Users with permission to do so can assign whole documents, or individual clauses within documents, to themselves or to other members of a project’s Review Team. Follow the process outlined below for accessing and reviewing clauses.
Clause Grid View
Once you’ve logged in to ContraxSuite, click “Contract Analysis Project” and find the project you wish to work on. Note: You may have to toggle “Hide Clause Review” in the “Project Settings” to see the button for the Clause Grid.
Click the “Clause” button to see the Clause Grid View.

The Clause Grid View is virtually identical to the Document Grid View, with just a few exceptions:
The grid rows represent individual clauses extracted by Fields/Field Detectors, rather than whole documents
The “Export” button in the top right of the Clause Grid only has one option: export Grid data (with or without Filters) into a
.xslxfile.Only the following “Filter” options are available at the Clause level:
Field
Document
Text
Value
Status
Assignee
Document ID
Document Status
Engage Filters and filter the “Assignee” column for your name, to see only those clauses that are assigned to you.
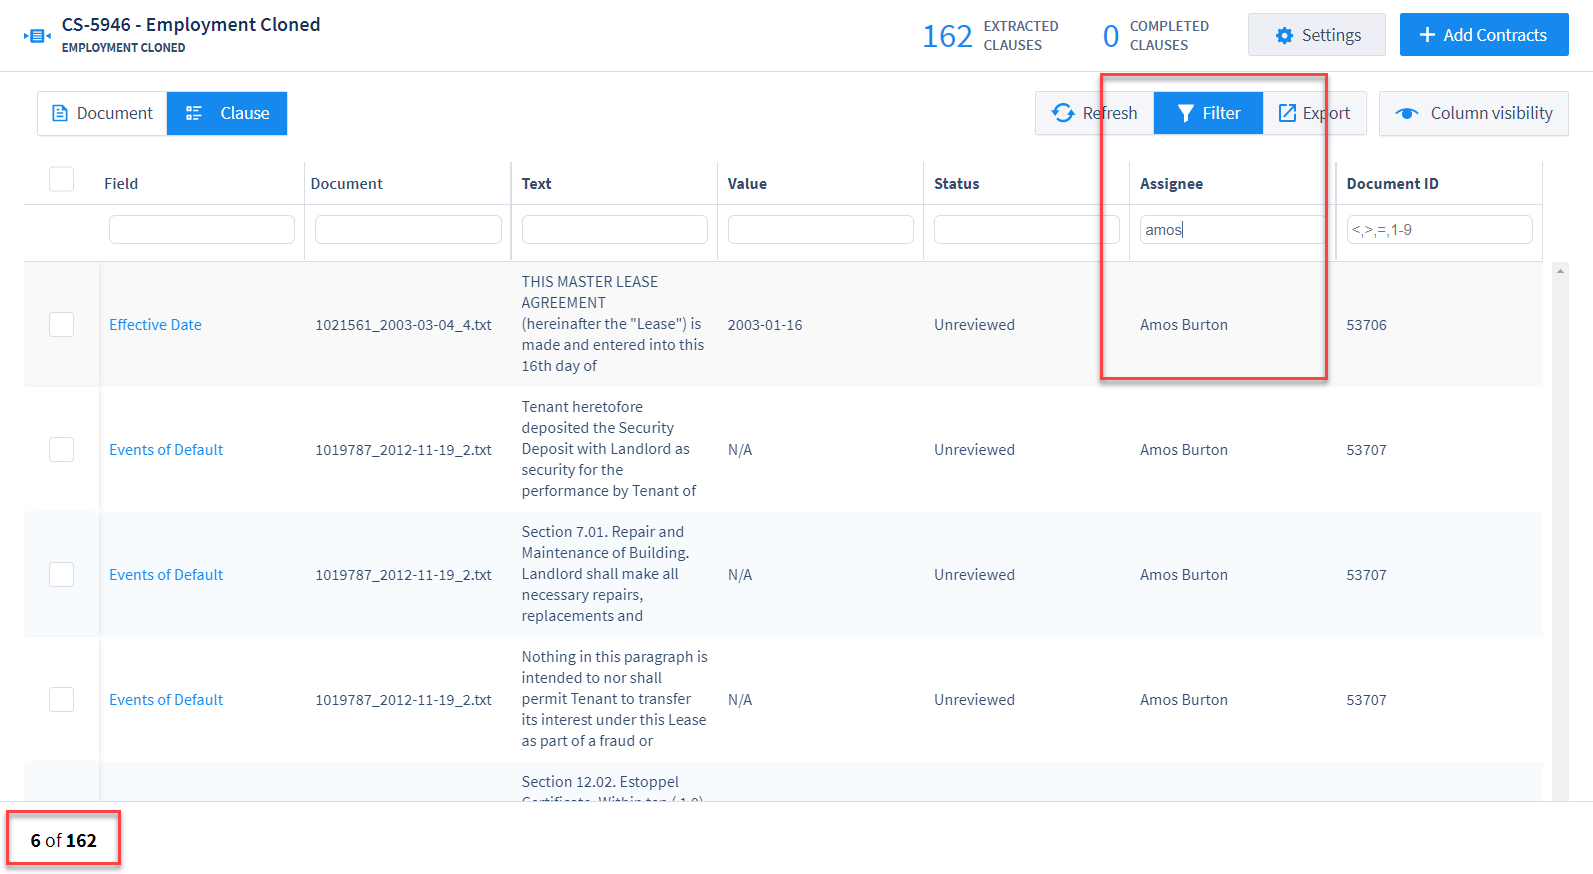
With Filters engaged, only those clauses that have been filtered will appear once you enter the Clause Workflow.
Clause Review Workflow
Clicking any clause in the Clause Grid will open that clause in the Clause Review Workflow. Review the text of the clause extracted by that particular Field, and then click either “Accept Annotation” or “Reject Annotation”. Depending on the type of Field, clicking “Accept Annotation” will display the value currently assigned to the Field. If the value is correct, click “Next” to go to the next clause in the workflow. If the annotation is correct, but the extracted value is not, after clicking “Accept Annotation” you can then change the value before clicking “Next” and moving on to the next clause.

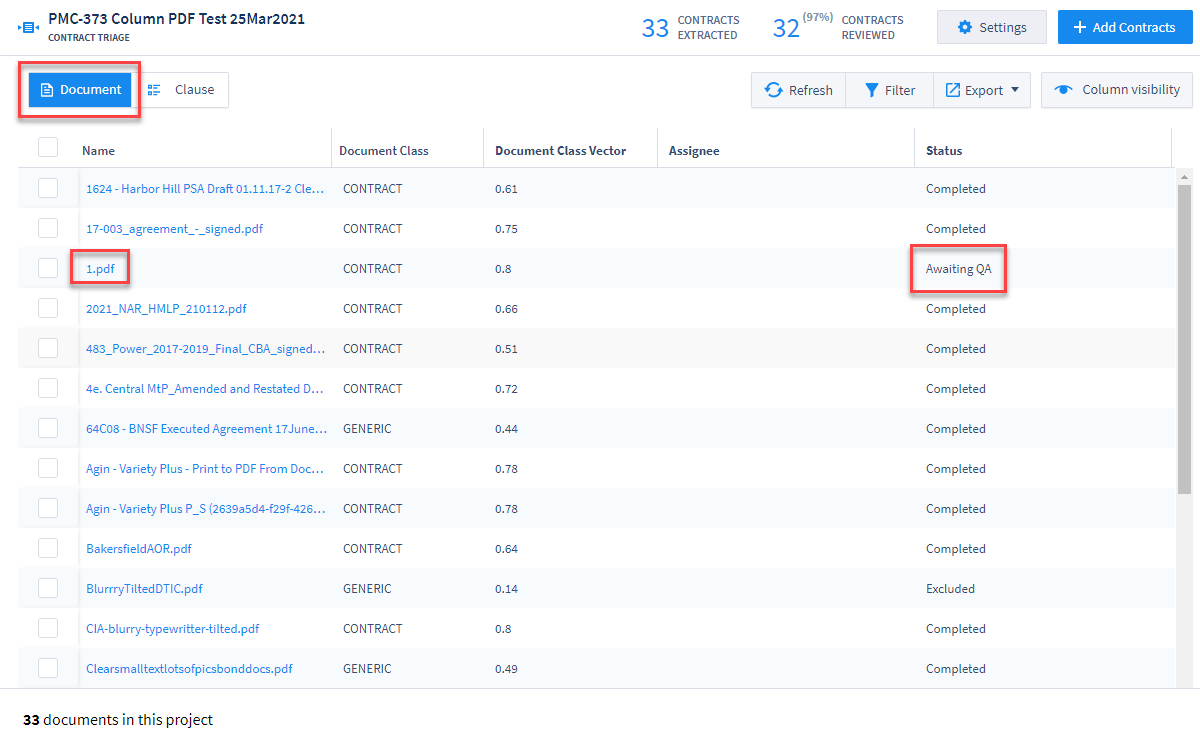
When all clauses in a document have been marked either “Accepted” or “Rejected”, that document will be automatically marked with the status “Awaiting QA” in the Documents tab for that project.
Hot keys for the Clause Annotator are as follows:

ESC- Return to Clause GridLeft arrow - Previous clause in the list
Right arrow - Next clause in the list
“A” - Accept Annotation
“R” - Reject Annotation
Some General Guidelines for Clause Reviewers
If the majority of the text displayed in the annotation is representative of the desired clause, it’s generally a good idea to “Accept Annotation”. This will also be beneficial for downstream machine learning.
If the majority of the text displayed in the annotation doesn’t seem representative of the desired clause, it’s generally a good idea to “Reject Annotation”. This also applies to too-large blocks of text (for example, several paragraphs of text annotated for just one Date value). A good rule of thumb is, if a Reviewer has to hunt through a long passage of text for the correct value, that clause likely needs to be rejected.