Creating and Managing Projects
When you first log in to ContraxSuite, you’ll see that there are two general types of projects that you can create: Batch Analysis and Contract Analysis.
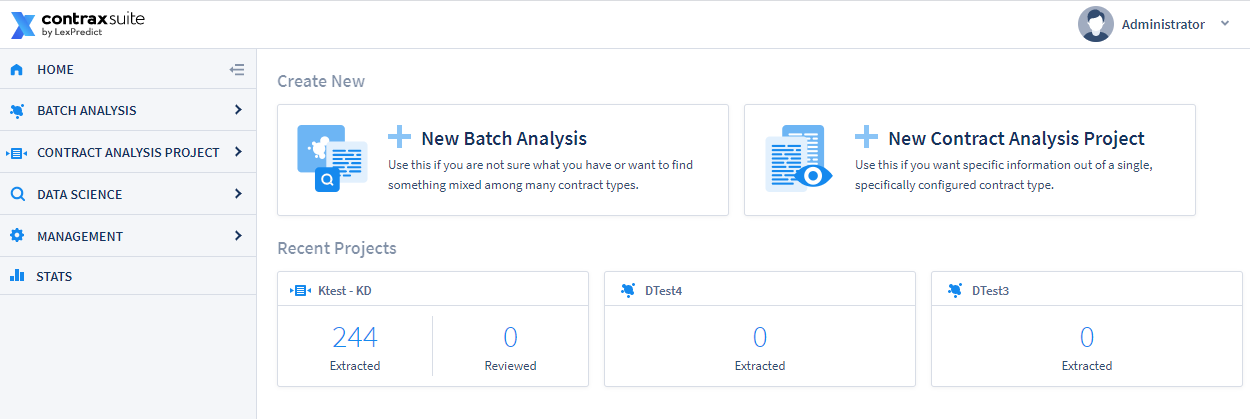
Clicking on “New Batch Analysis” or “New Contract Analysis Project” will open up a project creation pop-up.
Batch Analysis
To create a Batch Analysis, go to the main menu on the left and click Add New. You do not need to select a Document Type for Batch Analysis, as Batch Analysis is used for those situations when you may not know exactly what kind of documents you’re uploading.
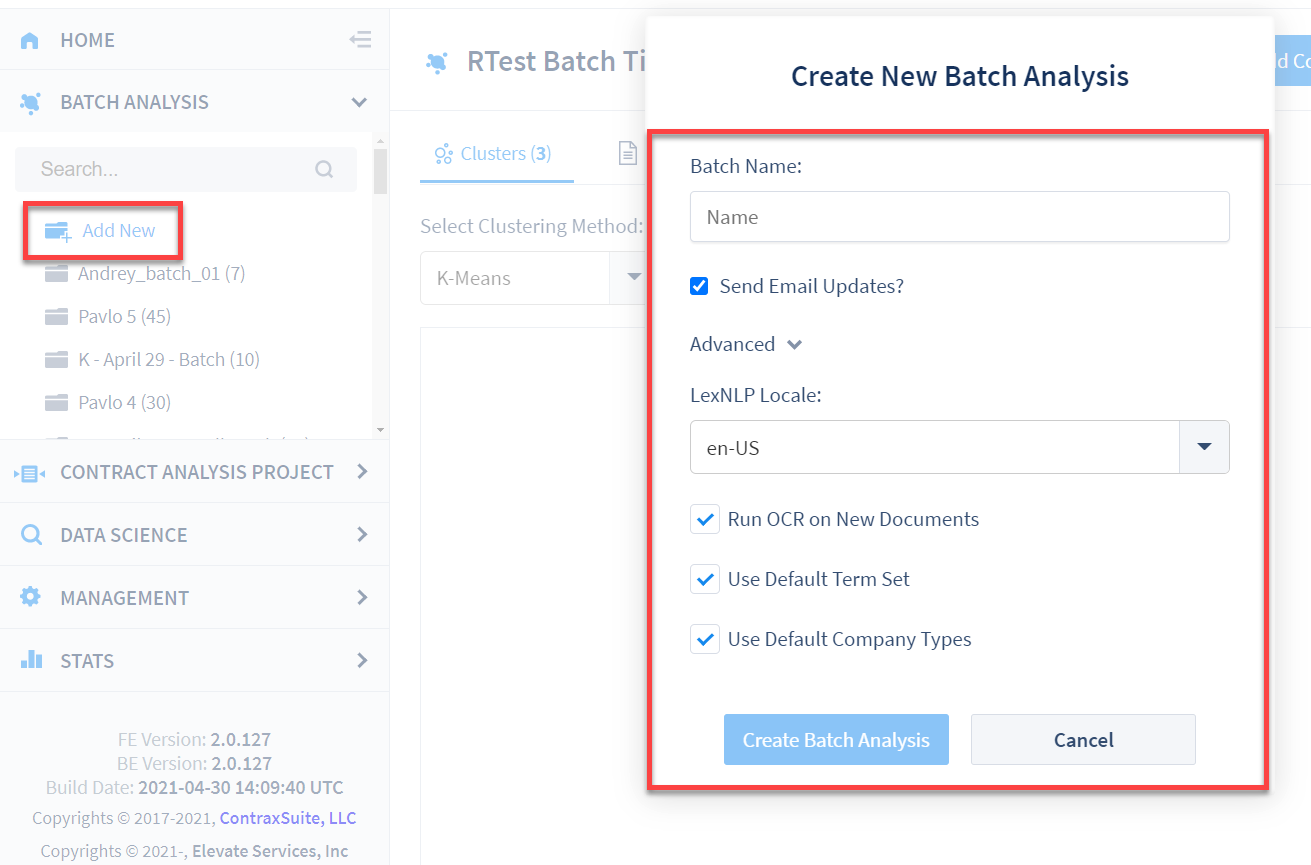
Give your project a Batch Name.
Send Email Updates?: Check this box to receive emails whenever documents are uploaded to the project (this box is checked by default).
Clicking Advanced will display the following options:
LexNLP Locale: Default is US English. Choose a LexNLP library that corresponds to the documents for this project. Choose the “Use Detected Language” option if your project has documents in multiple languages and you want ContraxSuite to automatically detect the language. See the LexNLP Locale” chart for more.
Run OCR On New Documents: Recommended. Checked by default. Checking this box means that OCR will be run on all uploaded documents. If you know that all the documents in your project are already machine-readable, you can uncheck this box for faster load times.
Use Default Term Set: Checked by default. Uncheck this box in order to use any additional Custom Term Sets that are available. See the Custom Term Sets and Company Types page for instructions on how to upload additional Term Sets.
Use Default Company Types: Checked by default. Uncheck this box in order to use any additional Company Types that are available. See the Custom Term Sets and Company Types page for instructions on how to upload additional sets of Company Types.
Note on Custom Term Sets: Default legal terms are all always extracted at document upload, and these terms are used by LexNLP extractors to find and annotate default Data Entities. ContraxSuite allows Admins and Power Users to upload a custom term set, and it can be selected as part of the document upload process to have the system extract those Terms in addition to, or instead of, the default terms. (Note: This affects clustering by Terms, and may also have an effect on machine learning down the line.)
After naming your project and clicking “Create Batch Analysis”, you will be taken to the “Add Contracts” pop-up.
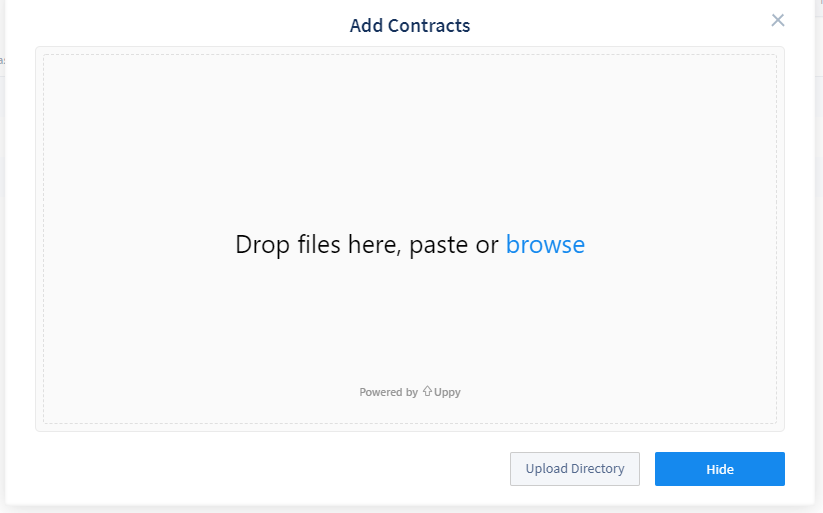
Click “browse” to browse for the specific documents you want, or drag and drop documents into the window. To add an entire folder of documents, click “Upload Directory” (Note: If uploading a .zip folder, treat it as a file and either click “Browse” and browse for the .zip folder, or drag-and-drop the folder into the pop-up window). Click the “Upload XX file(s)” button that appears in the lower left. If you want to add more documents from other locations later, just click the “Add Contracts” button in the top right of the main viewing pane.
Upload times may vary depending on the size and number of documents. Once documents are uploaded, ContraxSuite will begin parsing. Parsing usually takes a bit more time, but you can navigate away from the ContraxSuite page while parsing is ongoing, and return to your project after parsing is complete.
Once your documents are uploaded into your Batch Analysis project, clicking on your new project will take you to the Clustering page. If you clicked the checkbox to receive email updates, you will receive an email when uploading and parsing is complete.
Contract Analysis
To create a Contract Analysis project, click on “New Contract Analysis Project” from the homes page, or click on Contract Analysis Project in the main menu and click Add New.
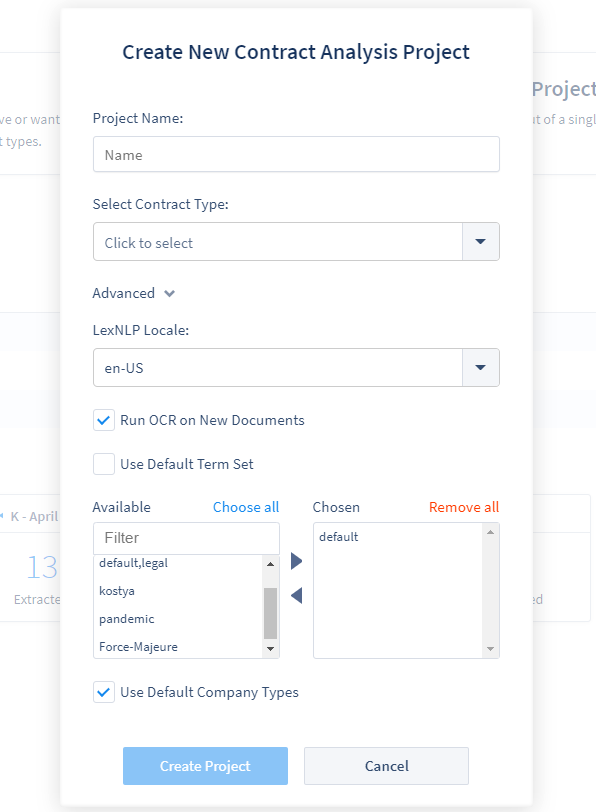
In the pop-up, choose the following:
Give your project a Project Name.
Choose a Document Type.
Clicking Advanced will display the following options:
LexNLP Locale: Default is US English. Choose a LexNLP library that corresponds to the documents for this project. Choose the “Use Detected Language” option if your project has documents in multiple languages and you want ContraxSuite to automatically detect the language.
Run OCR On New Documents: Recommended. Checked by default. Checking this box means that OCR will be run on all uploaded documents. If you know that all the documents in your project are already machine-readable, you can uncheck this box for faster load times.
Use Default Term Set: Checked by default. Uncheck this box in order to use any additional Custom Term Sets that are available. See the Custom Term Sets and Company Types page for instructions on how to upload additional Term Sets.
Use Default Company Types: Checked by default. Uncheck this box in order to use any additional Company Types that are available. See the Custom Term Sets and Company Types page for instructions on how to upload additional sets of Company Types.
Note on Custom Term Sets: Default legal terms are all always extracted at document upload, and these terms are used by LexNLP extractors to find and annotate default Data Entities. ContraxSuite allows Admins and Power Users to upload a custom term set, and it can be selected as part of the document upload process to have the system extract those Terms in addition to, or instead of, the default terms. (Note: This affects clustering by Terms, and may also have an effect on machine learning down the line.)
After clicking “Create Project”, you will be taken to the “Add Contracts” pop-up.
Click “browse” to browse for the specific documents you want, or drag and drop documents into the window. To add an entire folder of documents, click “Upload Directory” (Note: If uploading a .zip folder, treat it as a file and either click “Browse” and browse for the .zip folder, or drag-and-drop the folder into the pop-up window). Click the “Upload XX file(s)” button. If you want to add more documents from other locations later, just click the “Add Contracts” button in the top right of the main viewing pane.
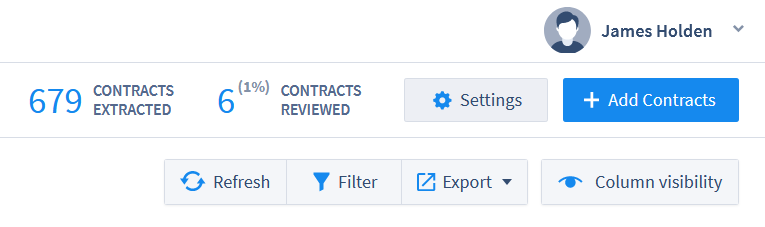
If you are an Admin or Power User, once you have created a project you may want to set up permissions for reviewers and other resources who will be using this project. To do this, click “Settings” in the upper right of the main viewing screen for the project.
Deleting Documents
Users can delete a Batch Analysis or a Contract Analysis Project in ContraxSuite by opening the project and selecting Settings > Delete Project.
ContraxSuite’s machine learning algorithms can only be successful at learning and improving over time if documents are not completely removed upon deletion. If a reviewer deletes a document, this document will no longer appear in the project in question, but will still be maintained at the database level to ensure that machine learning is not negatively impacted without administrator approval. Requiring administrator approval before fully deleting documents ensures that users do not accidentally erase documents that contain information valuable to algorithms produced for ongoing and future projects.
If you are an administrator, and wish to completely remove deleted documents from a project, follow the steps below. Note: To permanently delete a document from any project, you must first delete it from that project in the main ContraxSuite UI.
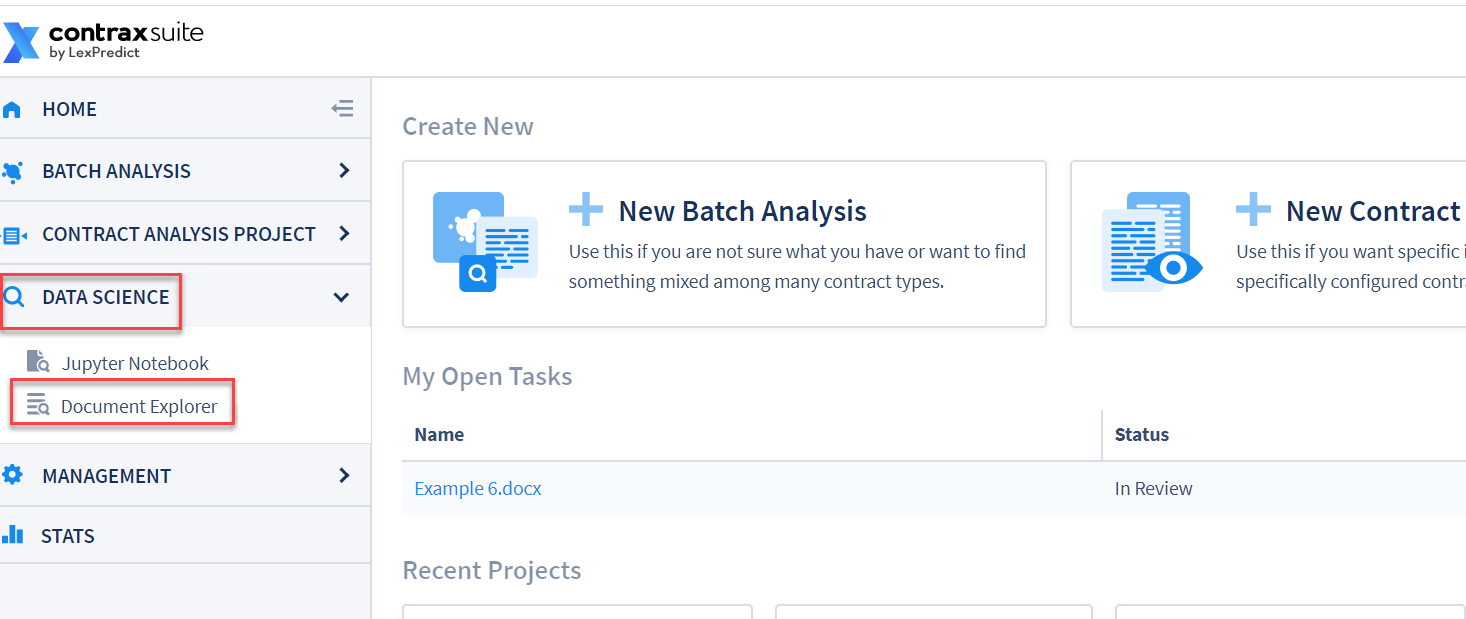
1. In the main menu, go to Data Science > Document Explorer.
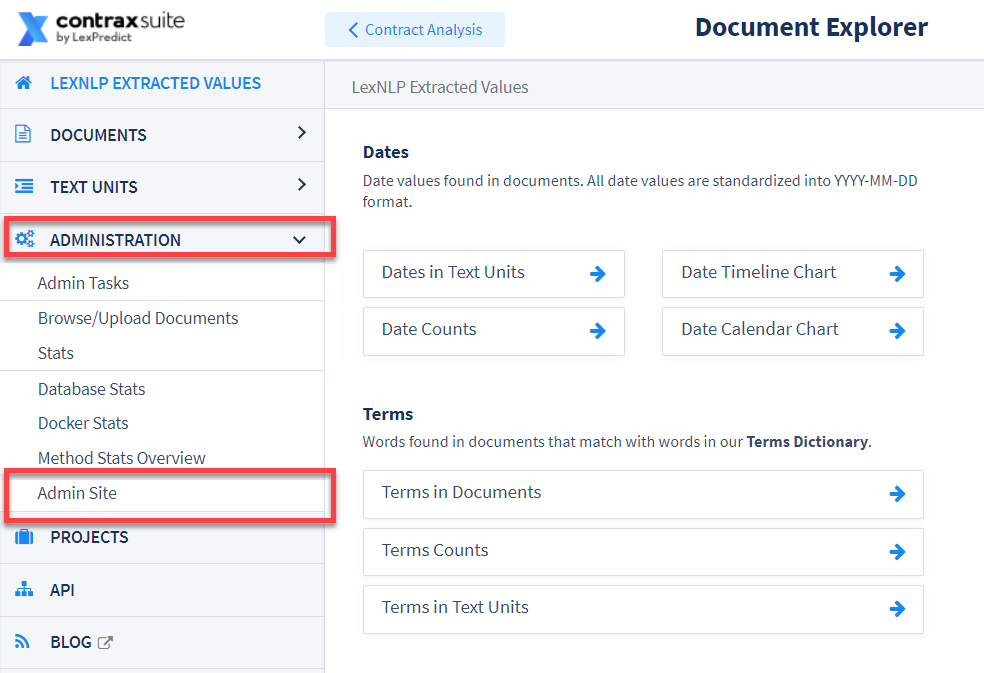
2. In the Document Explorer’s main menu, go to Administration > Admin Site.
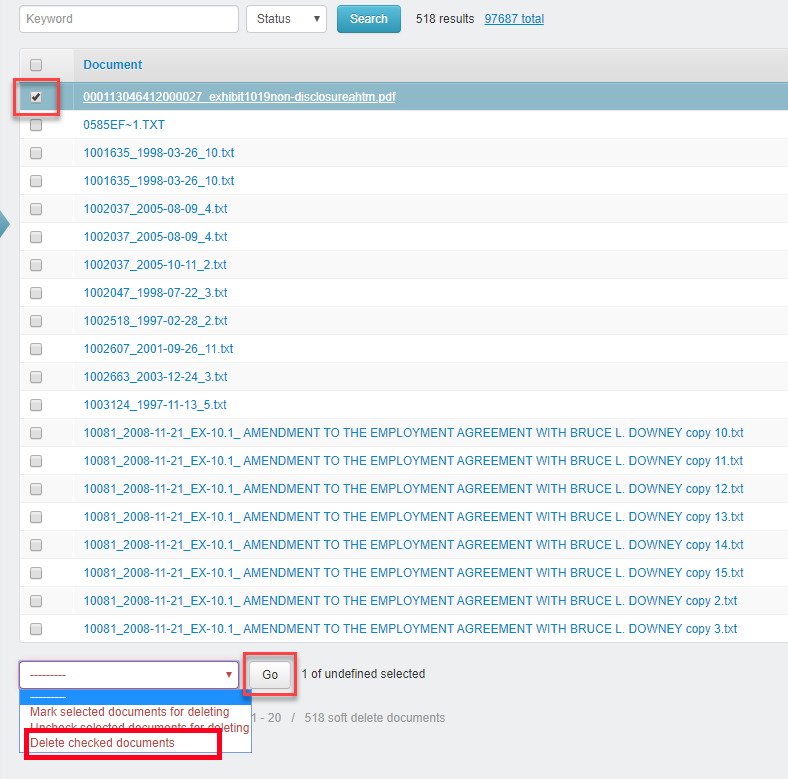
3. From the Admin Site, go to Document and then find Soft delete documents.

4. Use the search bar to narrow the list of individual documents. You can also search via project name or Document Type.
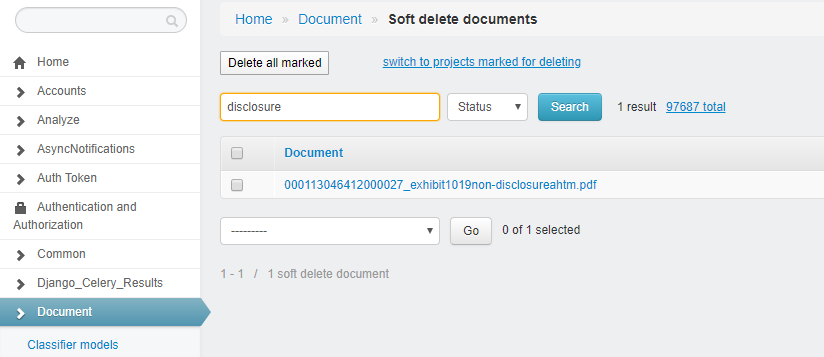
5. Check the documents you wish to delete, select “Delete checked documents” in the choice form at the bottom of the grid, and then click the “Go” button.
6. A confirmation page will appear.

Double-check that you have not selected documents you did not intend to select. Click “go back” to return to the search and selection screen. Click “Yes, I’m sure” to delete your selected documents. This process may take several seconds, or up to several minutes, depending on the size and number of documents chosen.